
Trew Landscape Blog
Homeowners: Outdoor Steps on a Slope — Avoid 3/8-Inch Riser Fails
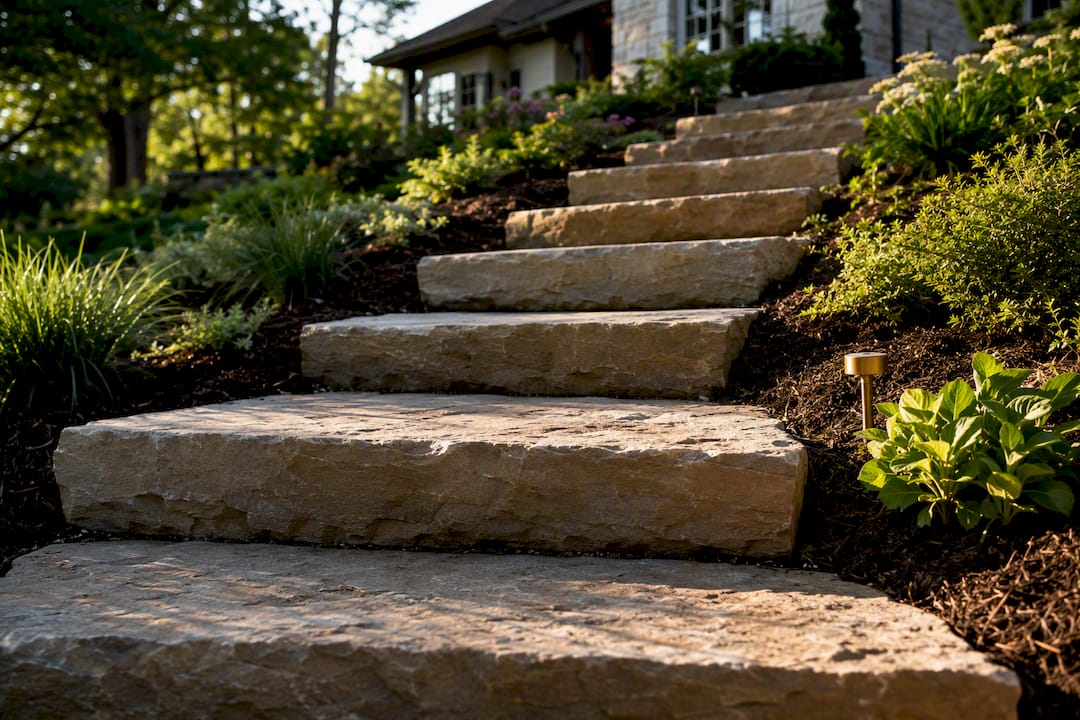
Homeowners: Outdoor Steps on a Slope — Avoid 3/8-Inch Riser Fails ! Stone steps climbing a landscaped residential slope For gentle slopes, timber box steps or paver modules work well.
Homeowners: Outdoor Steps on a Slope — Avoid 3/8-Inch Riser Fails
For gentle slopes, timber box steps or paver modules work well. For moderate slopes, stone or framed box steps with 12 to 16 inch treads make sense. For steep slopes, you need framed stringer stairs on poured footings with code-compliant handrails. Whichever you choose, the maximum riser height is limited by code, the minimum tread depth is set for safety, and riser variance between steps must be minimal. DIYers can handle short, simple flights; steep or drainage-heavy sites call for a professional.
TL;DR:
- Framed stringer stairs are necessary for slopes over 25 to 30 percent and require poured footings with code-compliant handrails for safety and durability.
- For slopes under 20 percent, timber box steps or paver modules are suitable, as they are low-cost, easy to install, and do not need engineered footings.
- Accurate riser height calculation involves measuring the total rise, dividing by an estimated riser height, then recalculating to ensure the variance stays within ⅜ inch to meet code.
- Proper base preparation, such as a compacted gravel foundation and erosion control measures, is crucial for long-lasting steps, regardless of material choice.
- Homeowners should prioritize drainage planning and proper site assessment over cosmetic features to prevent future failure and costly repairs.
Table of Contents
- Matching Stair Type to Your Slope Grade
- How Do You Calculate Riser Height and Tread Depth for Stairs?
- Which Materials Hold Up Best on Outdoor Steps?
- Why Base Prep and Drainage Determine How Long Your Steps Last
- Should You Build Your Own Slope Steps or Hire a Contractor?
- How Trew Landscape Approaches Sloped-Yard Steps
- What Homeowners Get Wrong About Slope Steps
- Ready to Build Steps That Actually Hold Up on Your Slope?
- Sources
- FAQ
Matching Stair Type to Your Slope Grade
Grade determines almost everything about what stair system will actually hold up. A gentle slope, roughly 10 to 20% grade, gives you room to spread steps out with generous run, which is why timber box steps and paver modules work so well there. They sit low, look casual, and don’t need engineered footings.
Stone treads or framed box steps with wider 12 to 16 inch treads give you the stability those grades need without going full staircase.
Landscape professionals generally reserve framed stringer stairs for slopes over 25 to 30% grade, since anything gentler doesn’t need that level of structural support. Stringers need poured footings and railings, but they’re the only reliable option once the hillside gets serious.
Layout matters as much as typology:
- Straight runs work fine for shorter flights under about 10 to 12 steps.
- Switchbacks break up long, steep climbs and reduce how imposing the stairs feel.
- Landings should interrupt any flight longer than roughly 12 risers, both for rest and for code compliance.
- Curved or offset layouts can follow natural drainage paths instead of fighting them.
Premium stone or precast steps fit best where you want permanence and don’t mind the higher upfront cost. They handle heavy foot traffic and freeze-thaw cycles better than most alternatives, which matters more than people expect once winter hits.
How Do You Calculate Riser Height and Tread Depth for Stairs?
Getting the math right is what separates a stair flight that feels natural from one that trips people. Here’s the process:
- Measure total rise from the bottom landing to the top, including the thickness of whatever finished surface you’re using. Skipping the paver or concrete thickness is one of the most common causes of inspection failure, because it throws off every riser calculation that follows.
- Divide total rise by an estimated riser height (start around 7-inch) to get a rough step count, then round to a whole number.
- Recalculate the exact riser height by dividing total rise by that final step count. This keeps every riser within the ⅜ inch variance code allows.
- Aim for the comfort zone: risers between 6 and 7.5 inches, treads between 10 and 12 inches. The old 7 inch by 11 inch rule still holds up as a solid default.
- Check your stair angle. A comfortable, code-friendly angle sits around 30 to 35 degrees; anything past 38 degrees usually fails inspection on new residential builds.
The most common mistake: measuring rise to the ground instead of to the finished tread surface, which throws every subsequent riser off by however thick your material turns out to be.
Which Materials Hold Up Best on Outdoor Steps?
Material choice on a slope isn’t just about looks. It determines how much maintenance you’re signing up for and how the steps handle water, ice, and years of foot traffic.
- Concrete: durable and versatile, but needs resealing roughly every 5 to 10 years. In freeze-thaw climates, air-entrained concrete resists spalling far better than standard mixes.
- Natural stone: can last well over a century when installed correctly, but mortar-set joints crack under ground movement in cold climates. Dry-set stone with mechanical restraint holds up better.
- Treated timber: budget-friendly and easy to work with, but expect to refinish it every 2 to 3 years to keep it from graying and splitting.
- Aluminum or steel: strong and low-maintenance, though it can get slippery when wet without a textured finish.
- Composite: splits the difference on maintenance, resists rot, but runs warmer underfoot in direct sun.
For slip resistance, look at broom-finished concrete, textured pavers, or aluminum treads with grip strips. Kansas City’s freeze-thaw cycles make climate-appropriate material selection worth more attention than most homeowners give it. Concrete step design choices also affect how much base prep the flight needs before a single stone or paver goes down.
Why Base Prep and Drainage Determine How Long Your Steps Last
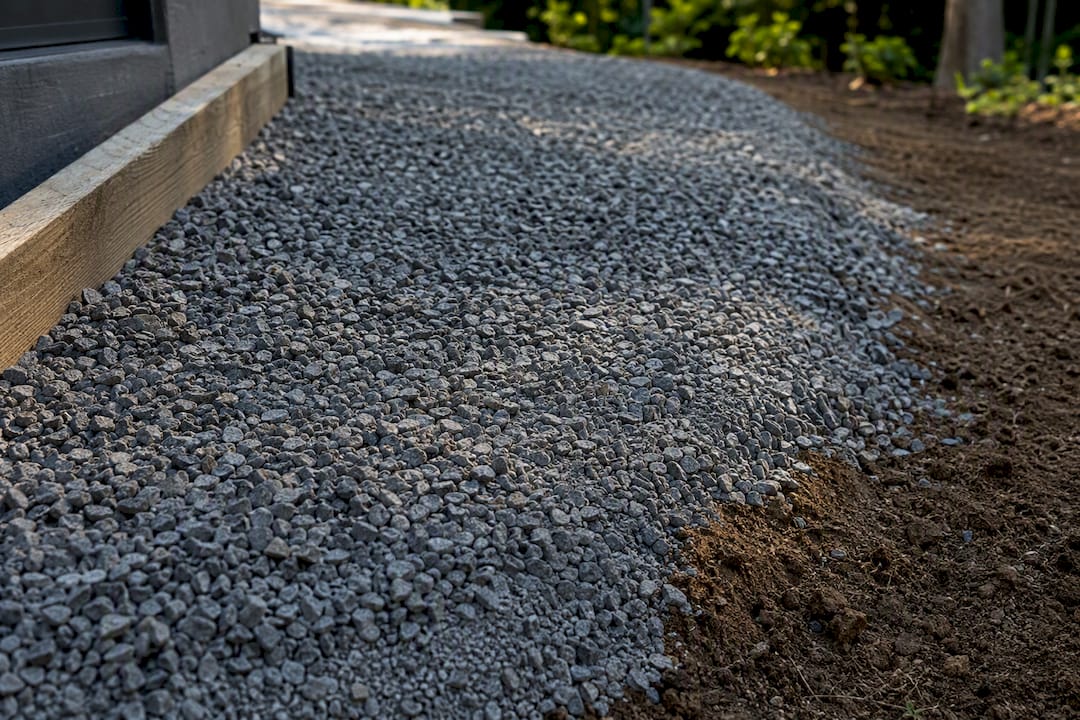
Almost every stair failure that isn’t a code violation traces back to what’s underneath the steps, not what’s on top of them. A 4 to 6 inch compacted gravel base under treads is the single most effective step against settlement, and adding a geotextile fabric layer keeps fine soil from migrating up into the gravel over time.
Footings and posts need their own attention:
- Never set wood directly against grade; use metal standoffs or post bases to keep timber off wet soil.
- Concrete footings for stringer stairs should extend below the local frost line.
- Landings need a minimum depth equal to the stair width, generally at least 36 inches, and should pitch away from the structure at no more than about 2%, or roughly a quarter inch per foot.
- Where slopes are prone to washout, tie erosion control measures directly into the stair footings rather than treating them as separate projects.
Pro Tip: If you’re building on sandy or loose soil, add a compacted base even where local code doesn’t strictly require it. It’s cheap insurance against the slow settling that shows up two or three winters later, long after the original contractor is gone.
Loose gravel on slopes can migrate downhill under heavy rain, so stabilizing slope aggregate before final grading prevents the base from washing out before the steps ever get installed.
Should You Build Your Own Slope Steps or Hire a Contractor?
Short, simple flights on gentle grades are reasonable DIY projects. A basic timber or paver run under 5 or 6 steps, on stable soil, with no structural retaining involved, is well within reach for a patient weekend project.
- Attempt DIY for low-rise timber or paver steps on gentle slopes without drainage complications.
- Call a professional once you’re dealing with poured footings, retaining walls, long flights, or any slope over roughly 25 to 30% grade.
- Check permit triggers in your municipality. Most jurisdictions require permits for stairs attached to structures or exceeding a certain rise, and inspectors will flag riser variance first.
- Bring a checklist to any consult: site photos, measured total rise and run, preferred materials, drainage concerns, and a rough budget range.
- Walk away from any bid that doesn’t measure exact rise before quoting risers. If a contractor can’t explain how they’ll keep variance under ⅜ inch, that’s a warning sign worth taking seriously.
Steep terrain with poor drainage is exactly where DIY mistakes get expensive to fix later.
How Trew Landscape Approaches Sloped-Yard Steps
Every project starts the same way: a full site assessment, precise rise-and-run measurement, and layout testing on the actual grade before anything gets ordered. From there, the drainage and erosion plan gets locked in alongside material selection, because sequencing it any other way invites problems later.
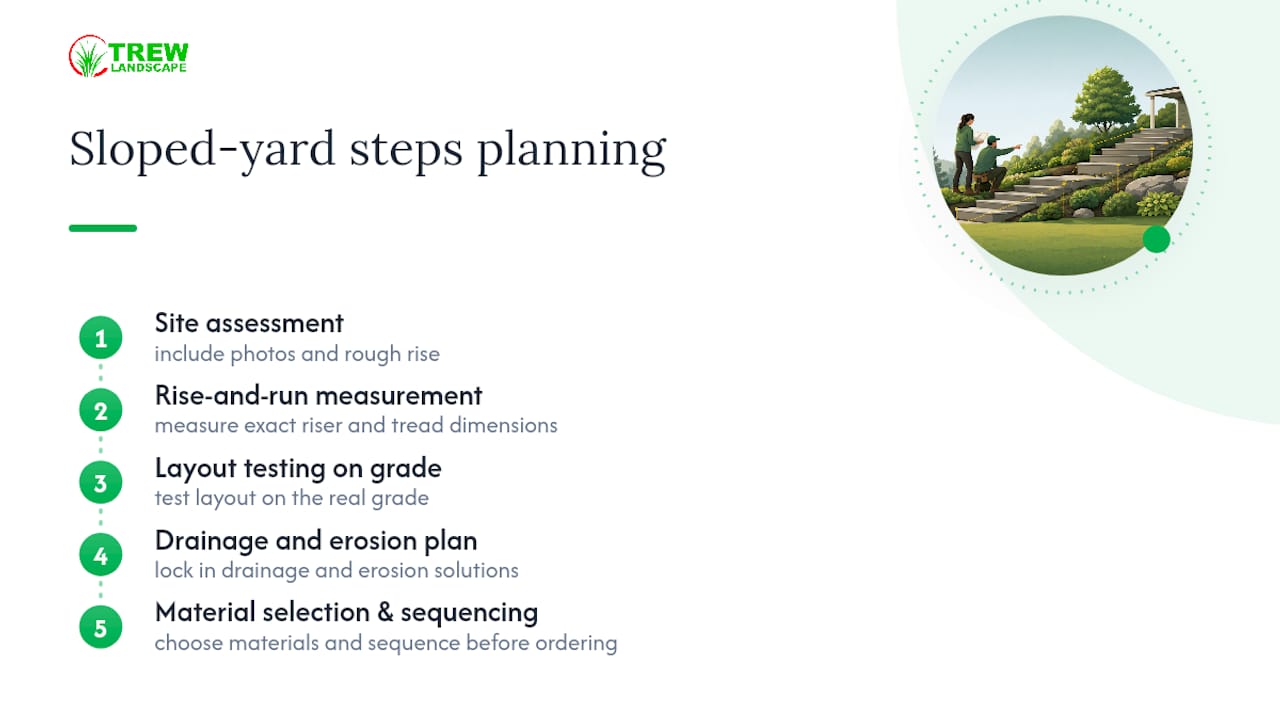
That process shows up across real projects, from concrete step installations to full paver installations on graded slopes. Before any consult, bring photos of the slope, a rough rise measurement, your material preference, and any spots where water already pools. That single checklist saves more back-and-forth than anything else in the planning stage.
What Homeowners Get Wrong About Slope Steps
Most homeowners chase the finish, the stone color, the tread style, before they’ve solved drainage. That’s backwards. Spend more on the base and footings up front, and the finish lasts. Slip resistance depends on the finish texture just as much as the material underneath it.
— Trew Landscape LLC
Ready to Build Steps That Actually Hold Up on Your Slope?
Trew Landscape LLC handles the parts of a sloped-yard stair project that go wrong most often when homeowners go it alone: reading the grade correctly, planning drainage before the first footing goes in, and matching materials to Kansas City’s freeze-thaw winters.

A consult includes a site visit, a code-aware layout plan, a drainage assessment, and a written estimate before any work starts. Whether you need framed stringer stairs on a steep grade, a paver landing, or a full landscape design that ties the steps into the rest of the yard, the same team handles it start to finish. If your slope has been quietly eroding around a rickety staircase for a few seasons, that’s the project to start with. Reach out through the hardscape design page to get a site visit scheduled and a real estimate in hand.
Sources
- Stairs and handrails (code summary)
- Deck stairs code & construction — DeckMath
- How long do exterior concrete stairs typically last?
- Stair code and drainage guidance
FAQ
How Do You Build Outdoor Steps on a Slope?
Measure total rise including finished surface thickness, divide it into equal risers between 6 and 7.5 inches, then choose a typology (timber, stone, or framed stringers) matched to your slope’s grade and add a compacted gravel base before installing treads.
What Is the 7 to 11 Rule for Stairs?
It’s a rule of thumb pairing a 7 inch riser with an 11 inch tread, which lands close to the comfortable, code-friendly stair angle of roughly 30 to 35 degrees.
What Is the 3/8 Inch Rule for Stairs?
Code limits the difference between the largest and smallest riser or tread in a single flight to no more than 3/8 inch, and it’s the leading cause of failed stair inspections.
How Do I Build Landscaping Steps on a Steep Slope?
Use framed stringer stairs with poured concrete footings below the frost line, install code-compliant handrails for any flight of four or more risers, and plan drainage before setting a single tread.
Do I Need a Permit for Outdoor Steps?
Most municipalities require a permit for stairs attached to a structure, over a certain height, or involving retaining walls, so check with your local building department before starting work.